Home Screen
Start the work you have been putting off. Attach a file or describe what you need, and Gridie will quickly organize the material into a workbook or a polished dashboard.
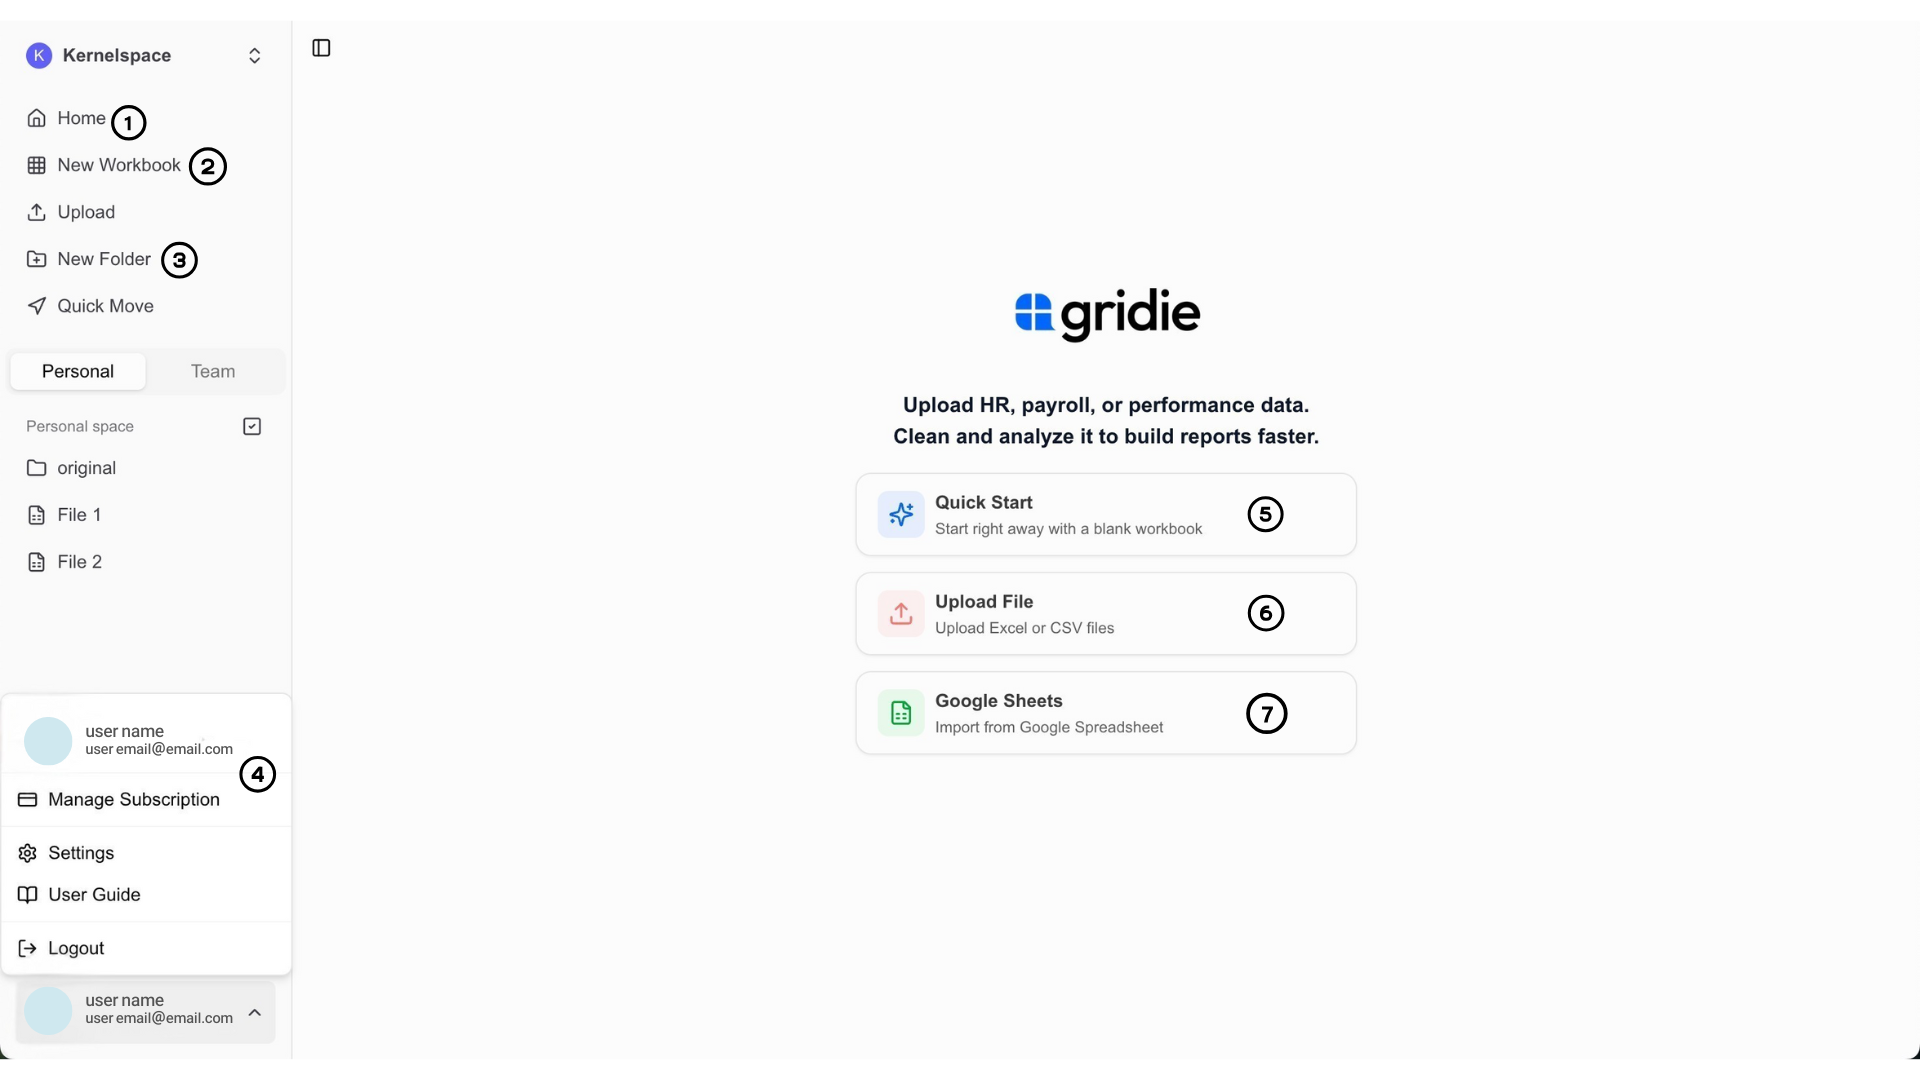
Type what you want to do in the input field in the center of the screen. Press Enter, and the home screen turns into the conversation while the agent starts working right away.
Organize the attached sales data by month
Turn the data in this report into a table and dashboard
Extract the dates, items, and amounts from these receipts
The home screen scrolls as a single page. The Kits and User guide tabs below the input show kits you can install right away and how-to guides for each feature. Each time you open home, one of them is already open, and you can switch by selecting the other tab.
Attach files
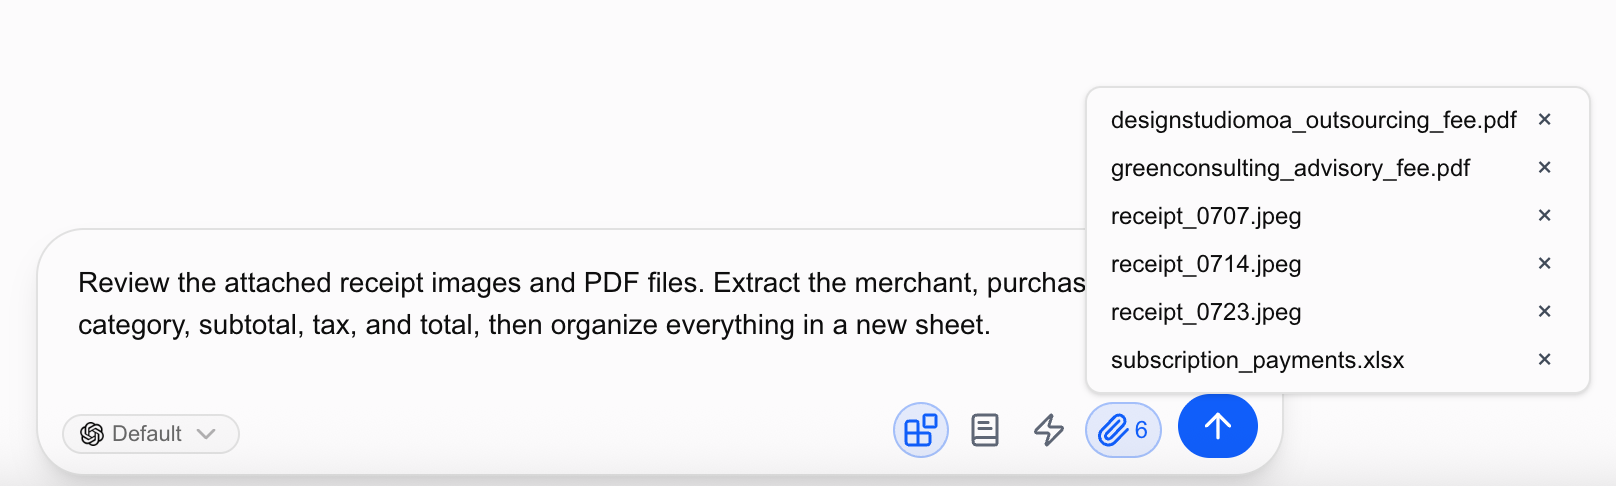
Select the attachment icon, or drag and drop files onto the input field. The agent reads the contents and extracts the data you need or organizes it in a workbook.
Gridie supports images (jpg, png, webp), PDFs, Excel files (xlsx), CSV, text and Markdown, DOCX, HWP, and more.
Connectors
Select the Integrations icon in the input box to see which services are connected and to connect a new one. You can bring in data from services such as Stripe, DART, Google Analytics, and BigQuery, or use connected services to send emails and messages.
Once a service is connected there is nothing to switch on. Describe what you want and the agent picks the right service.
→ Learn about connectors and credentials
Response modes
Choose Fast, Default, or Max based on the task.
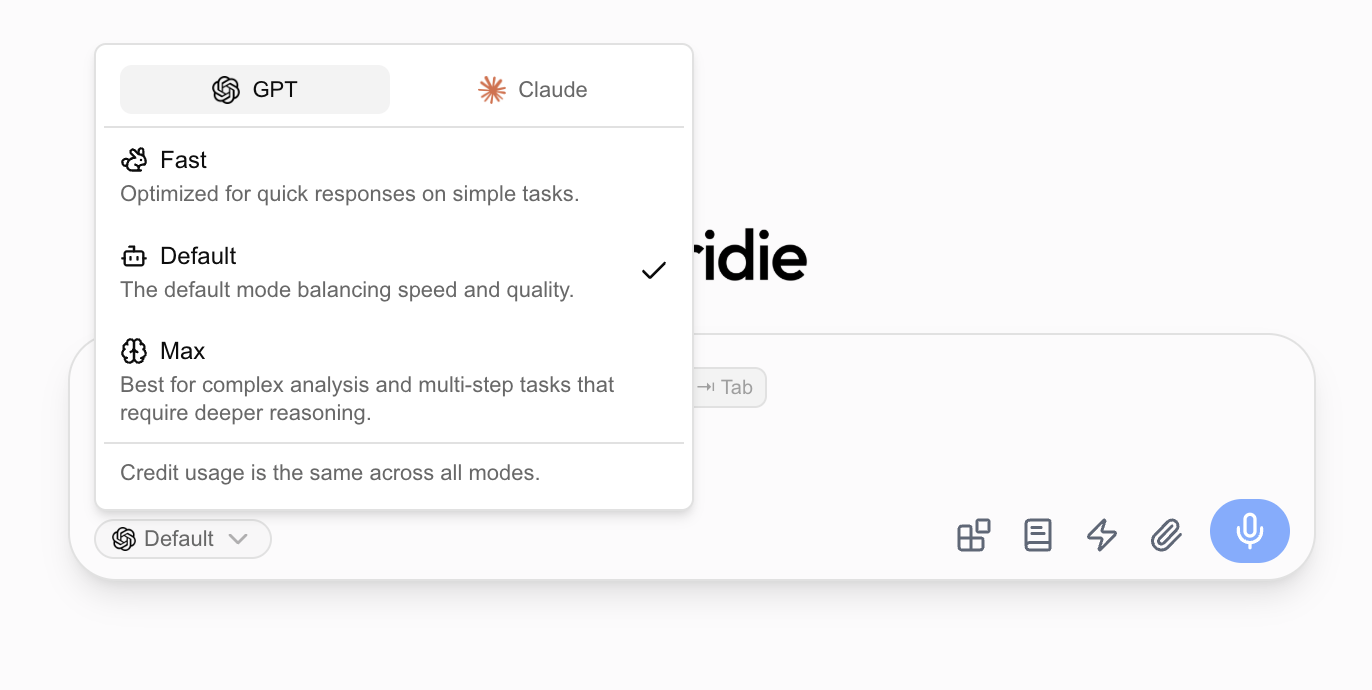
Best for quick calculations, data cleanup, and formatting changes.
Balances speed and quality for most everyday tasks.
Use it for multi-step analysis, complex decisions, and work that needs repeated verification.
→ Learn about response modes and the agent
Start with a kit
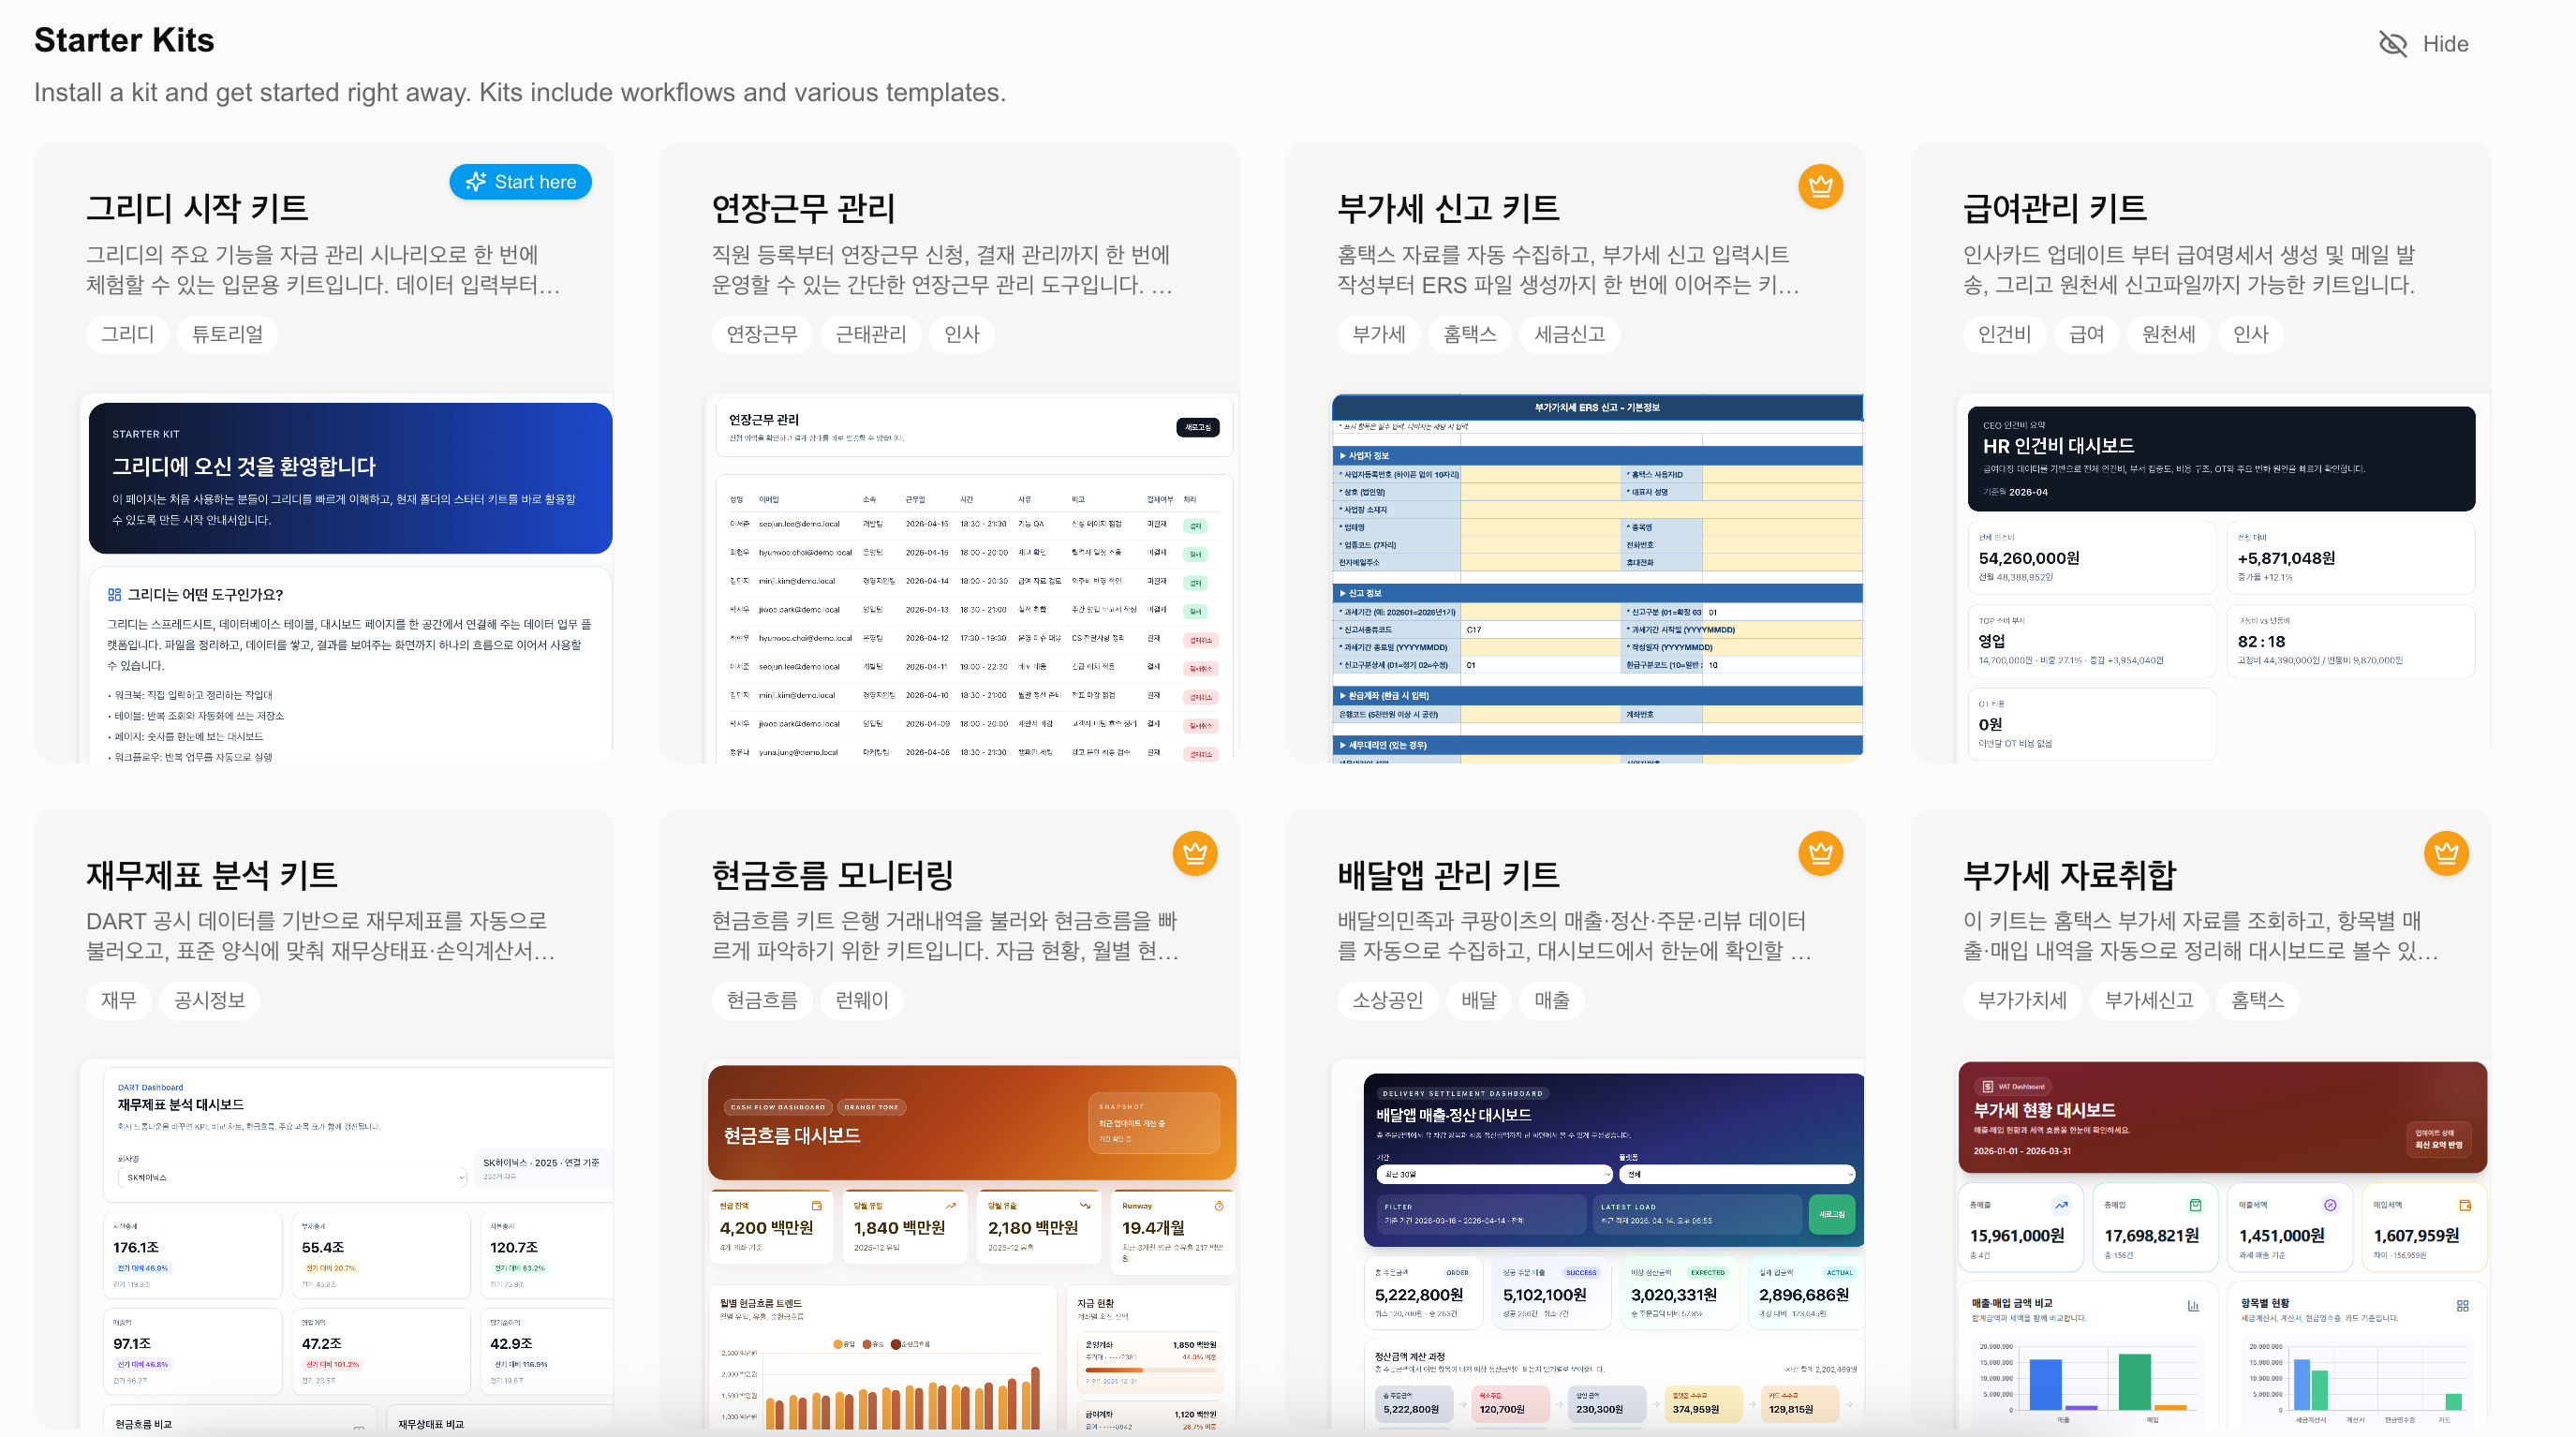
A kit is a work package carefully assembled by an expert for a specific type of work. It comes with the workbooks, data tables, dashboards, and workflows you need, so you do not have to build everything from scratch.
Choose a kit from the Kits tab below the input on the home screen and get started right away.
Finding your items
Once you’ve built up a few things, select Search or jump to at the top of the sidebar, or press ⌘K (Ctrl+K on Windows), to open the Browse window.
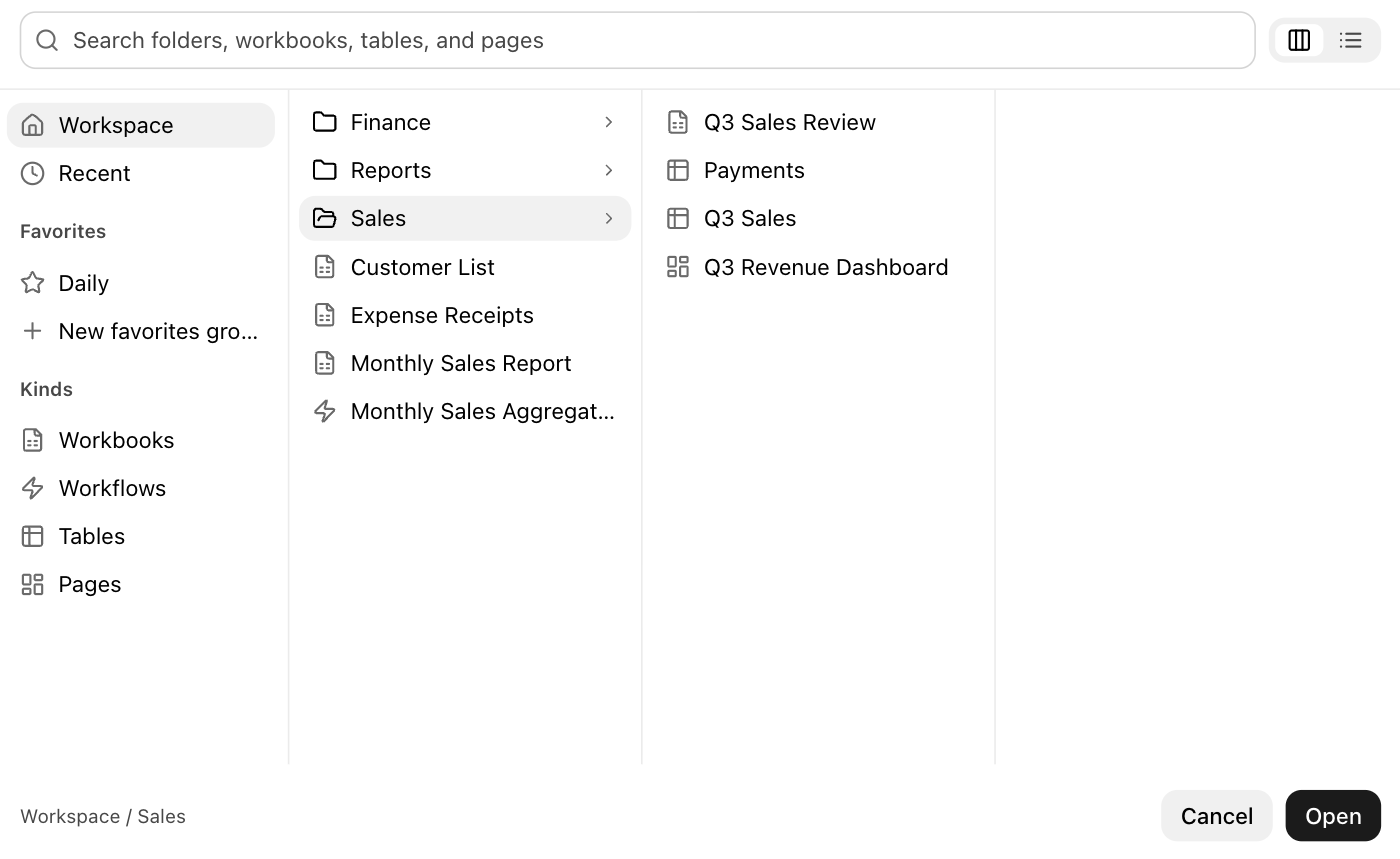
- Search: find folders, workbooks, tables, and pages by name and open them directly.
- Sources on the left: go through your folders under Workspace, or reopen what you opened lately under Recent. You can also see items by Favorites group or by Kinds (workbooks, workflows, tables, pages).
- View: choose between Columns and List.
Select a folder name in the sidebar to open the Browse window at that folder. The same window opens when you move or copy items, attach a workbook to an email, or choose where to install a kit.
Favorites
Favorite the items you open often and they collect near the top of the sidebar. Right-click an item, choose Favorite, and pick a group. You start with My favorites, and New favorites group in the same menu adds more groups.
- Drag an item from the folder list onto a group to add it to favorites.
- Drag favorites to reorder them or move them to another group.
- Use the arrow on the right of a group row to collapse or expand it. Groups you created have a [⋯] menu with Rename and Delete group.
- To remove a favorite, choose Unfavorite from its context menu.
Workspaces and organizations
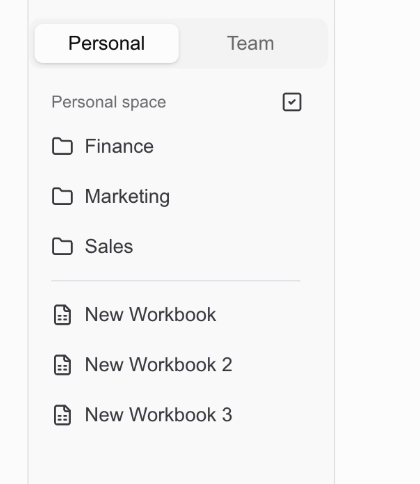
A workspace is a working space for one team or project. Switch to another workspace in the same organization from the top of the sidebar.
An organization is the layer above that holds workspaces, members, and billing. Manage members and billing under Manage organization in the user menu.
To learn about inviting members and setting folder permissions, see the workspace guide.